

| |
|
This is something that I highly recommend that every one with a late model
Mustang get. I don’t care if you have a super fast GT or a super slow V6.
It is worth the money for either car. The feel is so much better than stock
and even better than some shifters that aftermarket builders, such as
Saleen, use. It is very easy to install. It is good for those who don’t know a lot
about their car. It just takes time and a little muscle. The tools that I used were: a 13mm, 10mm, and an 8mm socket with a extension for the wrench; two 1/2 inch wrenches; a razor blade/Exacto knife; a plumber wrench. You will also need some silicone gasket maker.  First thing you need to do is remove the shift knob and then the console and leather boot around the shifter. You have to pull up with a little force to get the console out. It’s held in there pretty well. There are two plugs in the back. One to the lighter and the other to god-knows-what. I think it might be the traction control but I don’t have that so I have no idea what it is for. Then remove the factory shift handle. Use the 10mm socket for this. Then you have to remove the inner rubber boot and metal plate. At this point I realized that the parking brake was in the way. Place bricks or something around one of your tires and release the parking brake. There are 4 bolts holding this thing in. Use the 8mm socket for this. ATTN: Don’t drop the bolts. I lost 2 and had to go buy more. Hold on to those suckers. The plate might be a little tricky to get out. They have it in there kind of strange. You have to turn it and stuff to get it out.  Now you are able to see the factory shifter mounted to the transmission. Now this is the hard part. Getting the factory shifter out. This is where you use the muscle. Undo the 4 bolts that hold the shifter to the transmission. Don’t take them out though leave then in to where they should only have two or three turns before they come out. Remove that rubber thing around the base of the shifter. Now, put the shift handle back on the shifter. Place something between the shift lever and the tower. I used a wrench. Then pull back on the shift handle very hard. NOTE: The factory shifter has a lip on it that wraps over the edge of the shifter mounting area. It’s not like the tri-ax which just sits on the transmission. So you are not going to be able to use something to knock it from the side. 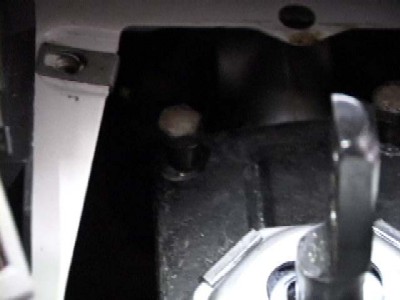 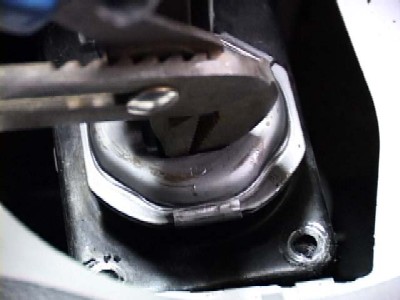 The shifter should come loose. Now you can remove the 4 bolts and the factory shifter. If that does not work, call Steeda. They might be able to assist you. I have also heard of people getting under the car, using a piece of wood and a hammer, hitting the shifter from the bottom, to knock it upwards. I don’t know if this works or not. It’s worth a shot I guess. Look at the difference. WOW! The tri-ax just looks better. 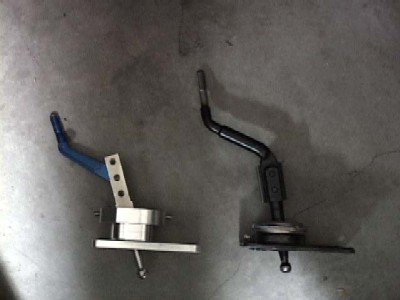 There is a little plastic cup that belongs in the transmission. It might have gotten stuck to the factory shifter. Make sure that it is in the transmission. 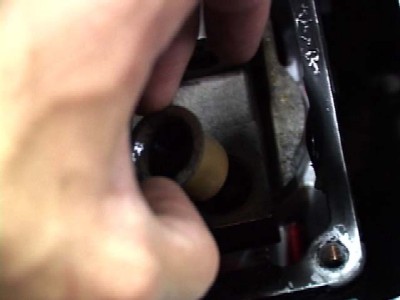 Now, there is going to be left over silicone from the factory seal. You need to clean it off the mounting surface before you can install the tri-ax. A razor blade/exacto knife works best. Ok, now you need to place a bead of silicone on the mounting surface. 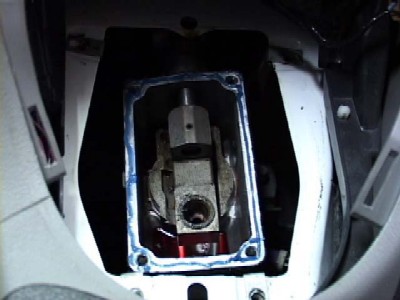 Place the new shifter on the mounting surface. Use the bolt provided in the kit and not the factory one. The factory bolts are too short for the new shifter. 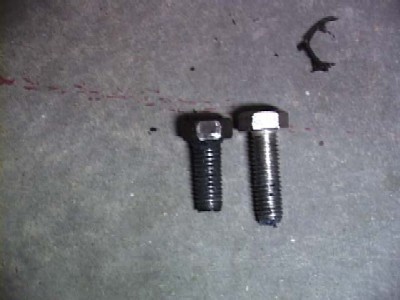  Ok, now you need to set the stop bolts. Back off both the bolts so that the shifter can freely move into all gears. 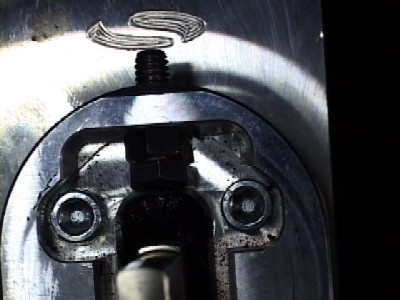 Place the shifter in first gear. Thread the bolt to where it meets the lever. 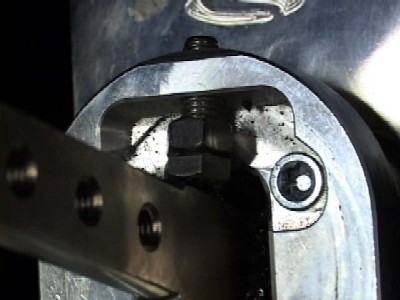 Then back it off 1/4-1/2 of a turn. There should be a small gap between the shift lever and the bolt. They say about .015”. Hold on to the bolt with a 1/2 wrench and then tighten the nut to the tower with another wrench. 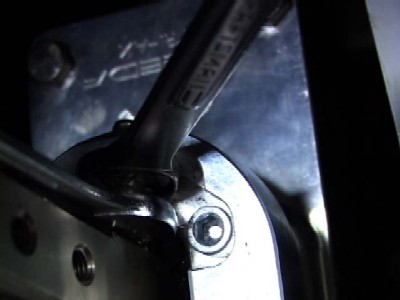 When it is just sitting in first the lever should not be touching the bolt. But if you push on the lever they should contact. Now pull the lever back into second and to the same thing to the other stop bolt. Double check your spacing. Now go through all gears to make sure that the spacing is good.  Place the boot guard washer over the leaver before you reinstall the inner boot and that metal plate thing. As you can see in the picture, my rubber boot it ripped. This is because I removed my washer because I thought that it was rattling. It wasn’t. It turned out to be my broken transmission. So make sure that the washer is in there. Now you can put the new handle on the new shifter. Use the bolts that come with it. And don’t forget the locking washers. Then place the leather boot and console back where they belong. Place a shift knob of your choice on the handle and you are set to go.  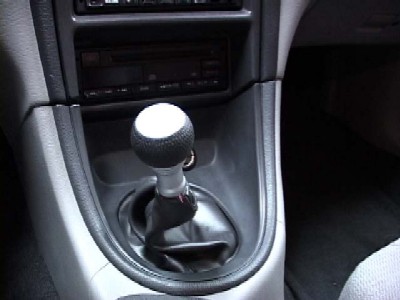 NOTE: My shifter is a little dirty. I have had it for a while. I had to take it out to get the transmission replaced. These are pictures of the reinstallation. Yours will be much cleaner if you get it from Steeda or one of their vendors. |